In this article, we will explain how to link your Elastic Email and Firmao accounts using Zapier. This will help you automate your work, especially when it comes to daily, repetitive and manual tasks. Such automating processes saves time and reduces manual processes among all team members.
Firmao is a Polish CRM / WMS process automation software available in the cloud. It has been sold in Poland and foreign markets for 13 years.
Dedicated to small and medium-sized companies, and thanks to its modular design, it provides a unique ability to quickly and easily adapt to the specific needs of any company. Firmao can be easily integrated with more than 1,000 external IT systems. Firmao is a European alternative to American systems such as Salesforce, HubSpot, Indian Zoho, and Russian Bitrix24.
Zapier is a workflow automation software that allows you to integrate various tools to be used in the same workflow and create automated tasks. An example of such integration can be Firmao and Elastic email.
Table of Contents
- Zaps - triggers and actions
- How to connect Elastic Email and Firmao through Zapier
- How to create a Zap
- Example Use Cases for Elastic Email and Firmao Integration
- How to integrate Elastic Email with Firmao - conclusion
Zaps - triggers and actions
The idea behind Zapier is that you create zaps - a task linking two applications to automate your workflow. It has a trigger and an action.
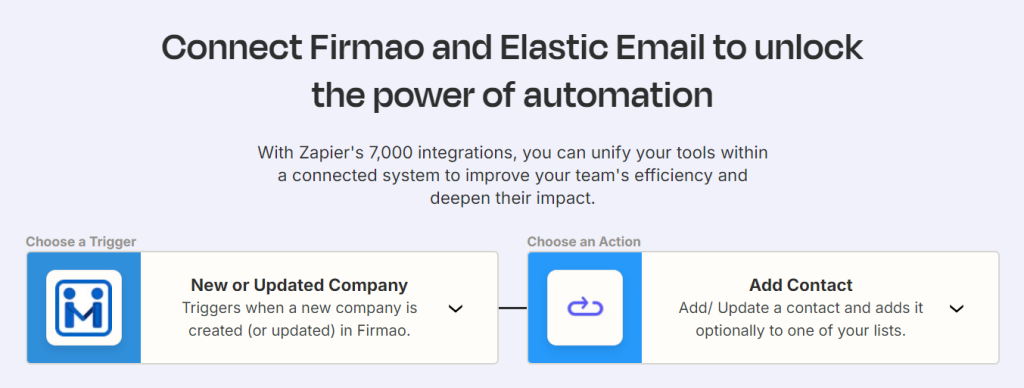
Triggers are the events that trigger automatic actions in the integration. For example, the trigger can be a New or Updated Company in Firmao.
Triggers lead to specific activities known as actions. For example, when a user creates a New or Updated Company in Firmao, the system adds the Contact in Elastic Email with filled custom fields.

How to connect Elastic Email and Firmao through Zapier
You need to take certain actions to connect Elastic Email and Firmao through Zapier. Of course, you need to have an account in these three tools. Then, you’ll need to generate API keys in your Elastic Email and Firma accounts.
Elastic Email
Log into your account, go to Settings, then to Manage API Keys, and Create. At this point, you can set custom permissions and optional access for your API key. There you’ll have the API key needed to sign in Zapier. Copy and paste it when connecting apps in Zapier.
Firmao
Log into your account, click on the button in the right corner (with the letter A – admin), and click Company Settings. On the left you’ll have different categories – click on Integrations. On the top click on API, then click Enable API.
Here you’ll have an API login and Password – that’s the credentials needed for you to sign in Zapier. You can set the rest simply via Zapier.
How to create a Zap
Set up Trigger App & Event
To start creating Zaps, click on the Create Zap button, and start by setting up the Trigger. You need to search for Firmao in the Choose App & Event search box and select it. Then, you need to choose the trigger event, e.g., “New or Updated Company” or “New or Updated Deal”. Here are all the triggers you can choose for Firmao:
- New or Updated Invoice
- New or Updated Product
- New or Updated Company
- New or Updated Task
- New or Updated Deal
Then, you will need to connect your Firmao account to Zapier. So, follow the prompts to log in to your Firmao account and allow Zapier access.
Then, you need to customize the trigger by setting up any filters or specific conditions for your trigger (e.g., only trigger when a contact is added with a specific tag). Next, Zapier will fetch a sample trigger to test if everything is set up correctly. Make sure the sample data matches your expectations.
Of course, you can also set Elastic Email as your Trigger App, and choose Trigger events like:
- Campaign Sent
- Contact Added
Set up Action App & Event
Now it’s time to configure the second step - choosing Action App and Event. Search for Elastic Email in the Choose App & Event search box. Select Elastic Email as your action app.
Then, choose an action event, such as “Send Email” or "Add Contact". This action will be performed in Elastic Email when the trigger event occurs in Firmao. Here are all the actions you can choose for Elastic Email:
- Add Contact
- Send Email
- Delete Contact
- Create List
- Unsubscribe Contact
- Find Contact
- Find All Contacts in the List
Next, you will need to connect your Elastic Email account to Zapier. Follow the prompts to log in to your Elastic Email account and allow Zapier access.
Customize the action by setting up the action with the data from Firmao. For example, if your action is to send an email, configure the recipient, subject, body, etc., using the data fields from the trigger step. Then, run a test to see if the action works as expected. This sends a test email or adds a test contact in Elastic Email to ensure your Zap is functioning correctly.
Of course, you can also set Firmao as your Action App, and choose Action events like:
- Create Company
- Create Deal
- Create Task
Once everything is set up and tested, give your Zap a name. Turn on your Zap to activate the workflow automation.
Example Use Cases for Elastic Email and Firmao Integration
If you need a little bit of extra inspiration on how you can use Elastic Email and Firmao together, here are a few use cases for you:
- Automatic Welcome Emails: When a new contact is added to Firmao, automatically send a welcome email to them via Elastic Email.
- Follow-Up Emails for Updated Deals: When a deal status changes in Firmao, send a follow-up email to the client or sales team.
- Newsletter Subscription: Automatically add contacts from Firmao. to your newsletter list in Elastic Email, keeping your email list up to date.
How to integrate Elastic Email with Firmao - conclusion
We hope you now see how easy and beneficial it is to integrate Elastic Email with Firmao through Zapier. By following a few simple steps, you can automate business processes, save time and resources, enhance lead management, and improve customer relationships. You can better synchronize your data and send more targeted email campaigns. And the best part is, this integration will scale as your business grows.


