The role of automation in marketing has shifted from being a desirable feature to an essential one. According to a survey, 91% of marketers acknowledge that marketing automation is instrumental in attaining their goals. Explore intriguing email marketing workflows that can enhance and grow your business further.
According to Oracle, over 75% of marketing departments saw a boost in their conversion rates by adopting marketing automation software. What makes it highly effective, and how can one leverage its advantages? What email marketing automation workflows can be used in almost every business? Learn more below.
Table of Contents
- Email marketing automation - what is it?
- Pros of email marketing automation
- Do you need more reviews? Ask for it
- Lead nurturing emails
- Download your files
- What email marketing automation workflows are best suited for you?
Email marketing automation - what is it?
Email marketing automation represents an advanced approach utilizing technology to streamline and enhance email delivery efficiency to a specific audience. Rather than manually dispatching individual emails, marketers employ automation tools like Elastic Email to establish predetermined workflows and triggers. These triggers can be based on various factors, such as user behavior, interactions with previous emails, or specific time intervals.
Ultimately, email marketing automation aims to elevate customer engagement, boost conversions, and cultivate enduring relationships with the audience. That might sound terrifying for a beginner, but with the right guidance and a user-friendly interface, it becomes attainable for everyone.
Pros of email marketing automation
You're familiar with the industry statistics, but let's delve into specifics. What makes the email marketing automation feature worthwhile?
Firstly, it enables personalized engagement with subscribers based on their behavior, preferences, and interactions, fostering a more tailored and relevant communication strategy. Automation streamlines the process of sending emails at specific times, ensuring timely delivery and increasing the likelihood of engagement.
Moreover, it allows you to create dynamic and responsive campaigns that adapt to recipients' actions, such as sending follow-up messages or exclusive offers based on their previous responses. By leveraging advanced marketing automation platforms, this process not only saves time but also enhances the overall customer experience.
Additionally, email marketing automation facilitates the nurturing of leads by guiding them through a well-defined sales funnel, ultimately boosting conversion rates. With the ability to analyze data and metrics, businesses can gain valuable insights into campaign performance, enabling continuous improvement and optimization of their email marketing strategies.
All in all, email marketing automation stands out as a potent tool for boosting efficiency, personalization, and effectiveness in reaching and engaging target audiences. Let’s take a closer look at some of the most appealing automation workflows.
Say hello to your clients
Clients are waiting for a welcome email, a wonderful means to reassure them of their successful subscription and extend a warm welcome. This widely used automation is typically triggered when someone signs up for your newsletter or registers for your product, such as a free trial.
Apart from saying “hello”, what content can be included in such emails? You can showcase your brand’s distinct, share exclusive discounts for new users, or provide additional information about your social media channels.
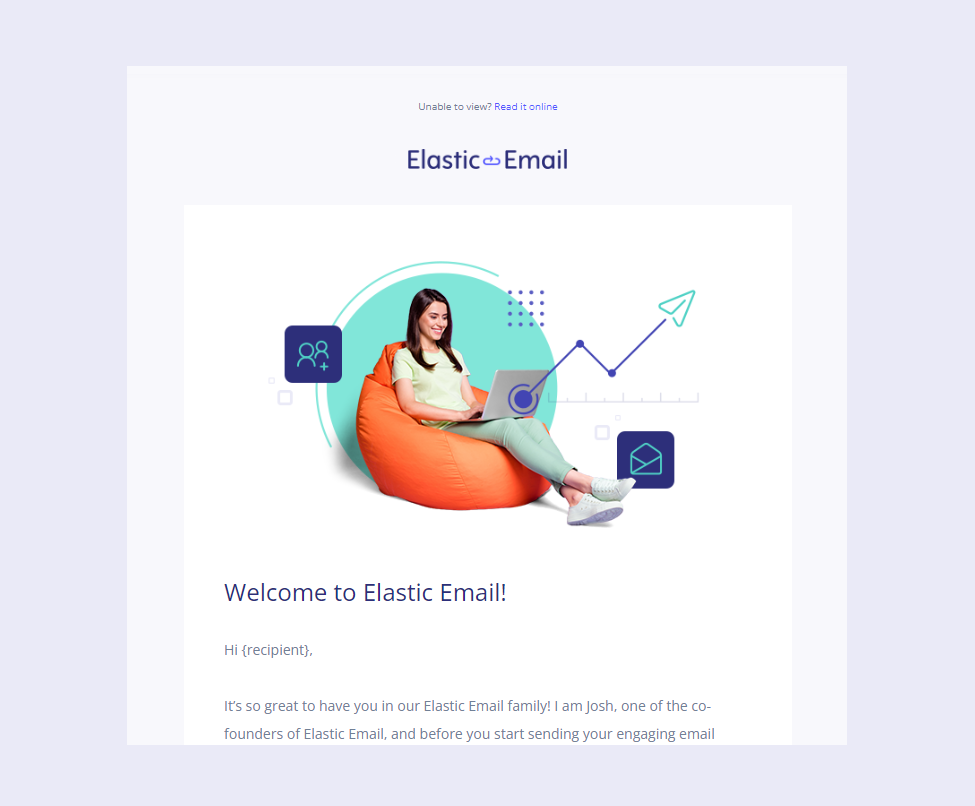
Remember that this marks the first touchpoint between your client and your email marketing. That’s why capturing the attention and fostering engagement at the start is crucial.
Onboard your clients
A welcome email can be just the beginning of the entire onboarding sequence. The email onboarding process is gaining popularity, particularly in the realm of SaaS products or paid courses. Clients highly value the onboarding experience in such cases.
Classically, the entire onboarding was run in the app. However, with email, you can now incorporate essential information, including screenshots, articles, and videos, to maximize the effectiveness of onboarding. In most cases, emails serve as supportive tools for onboarding and a means to reinforce understanding about the product. Both processes can be complementary.
Cart abandonment
Challenges with abandoned carts are a common concern for all e-commerce enterprises. It’s typical for clients to add products to their cart but not complete the transaction. That’s why numerous e-commerce guides focus on tactics to encourage clients to purchase and not leave products in the cart. Email automation is one of the most effective methods to transform abandoned carts into successful purchases. In line with Statista data, automated cart abandonment emails have an average open rate of 32.1%.
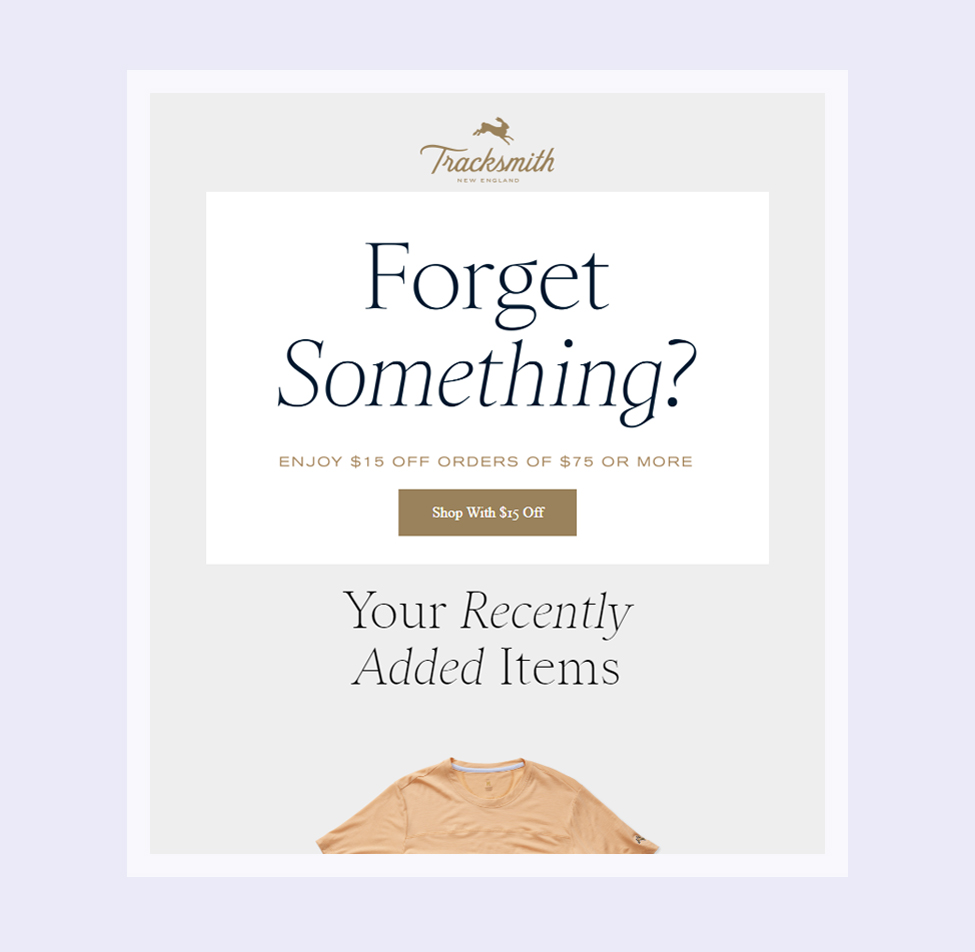
Utilize API calls or lists grounded in remarketing to dispatch these emails. On the one hand, you can showcase the cons of a specific product and use bundle promotions or discount codes to encourage clients to complete transactions. Experiment with various tactics and solutions to discover what works most effectively for your business.
However, the timing of this email is significant. Many clients add products to their cart and decide to purchase the following day. It’s their time to reconsider and compare products. Therefore, delaying this automation by 48/72 hours to give customers extra time for reflection might be essential.
Upselling and cross-selling
Your client has already purchased the product, and you succeeded. However, this is the initial chapter in their buying journey. Leverage your understanding of your customers to maximize your list's potential and enhance your customers' lifetime value.
As an illustration, suppose a customer has purchased dog food; in that case, you can anticipate their potential interest in additional accessories for their pet in the near future. Use this to your advantage and suggest products that might be compelling for your customer beforehand.
It works similarly with upselling emails. If your customer has opted for the basic version of your software, that's perfectly acceptable. However, why not showcase your pro plan's additional features and benefits? Utilize case studies to convince your customer to consider upgrading their plan.
Win your customers back
In today's competitive market, retention holds significant importance. It is much more efficient and cost-effective to prioritize retention over constantly acquiring new clients. That's why it's so crucial to do everything we can to keep good customers, and “win-back” email automation might be the way.
Target your inactive clients who require an additional trigger to come back. This could involve offering extended trial periods, providing discounts, or sharing an additional whitepaper that might capture the interest of your inactive audience. This approach allows you to rebuild relationships effectively - even if one out of ten clients will return, it’s worth the effort.
If it doesn’t work out, tidying up your mailing list might be opportune. Employ an email verification service to eliminate unengaged clients, enhancing your reputation and your open rate.
Rewards and loyalty emails
A loyal customer is an ideal customer. We all want to build a loyal customer base with individuals who consistently return to us. So, why not acknowledge and reward those we have already attracted?
The process is similar to a win-back email. However, in this case, you must select your most loyal customers (e.g., those who have made at least 5 purchases) and prepare something extra for them. Ebook, special discount, some additional resources -> it’s up to you and depends on the specifics of your business.
Make those loyal clients feel special. Make them feel appreciated by your company. These sentiments will result in increased revenue for your company and a reduction in churn rates.
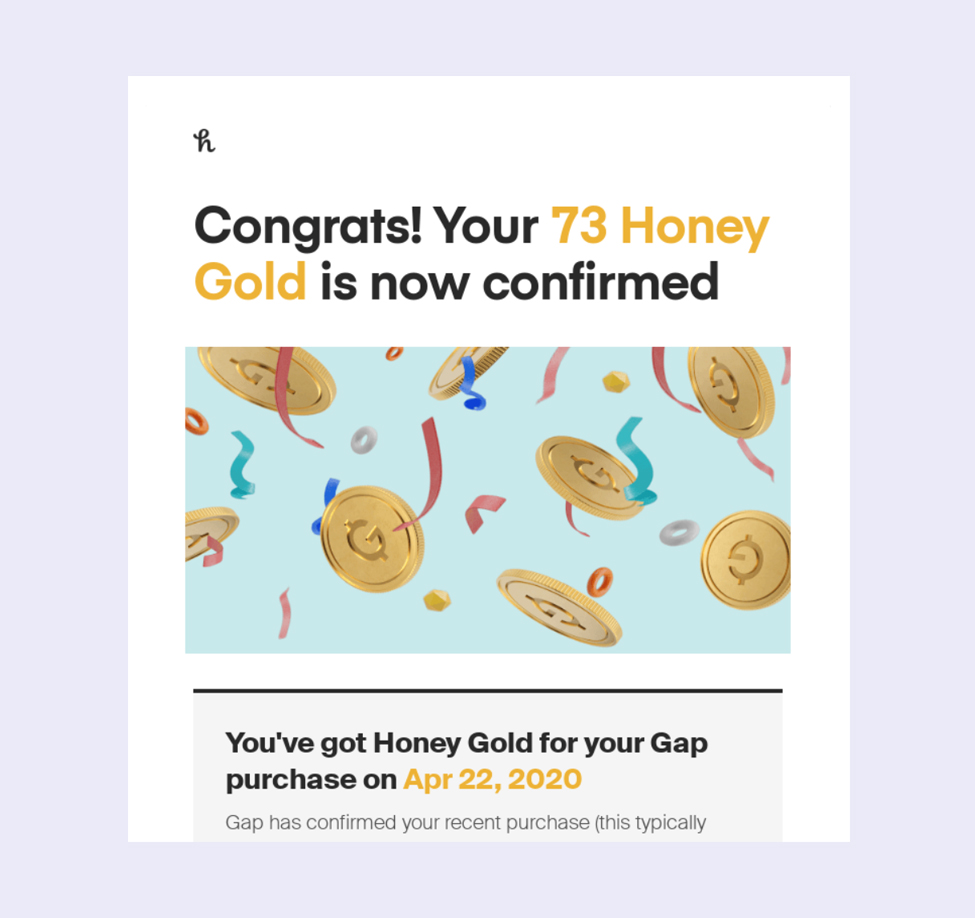
After-sale emails -> thank you!
Thank you emails are mainly connected with transactional emails, and it’s also a way to automate your campaigns. This type of email can seamlessly integrate into order confirmations, delivery info, and receipts.
To make it unique, include post-sale benefits for the initial purchase, provide an extra guide on optimizing product use, or outline the subsequent steps to ensure the correct utilization of your service.
Keep in mind that purchase is not the only reason to thank for. You can also appreciate clients for their reviews and shared feedback on completed actions. Moreover, it does not have to be boring - thank-you emails might also be appealing and creative.
New product/feature launched
Utilizing email marketing automation can play a crucial role in the success of a new product or feature launch initiative. While a standard newsletter is viable, leveraging email automation can significantly enhance your campaign's effectiveness.
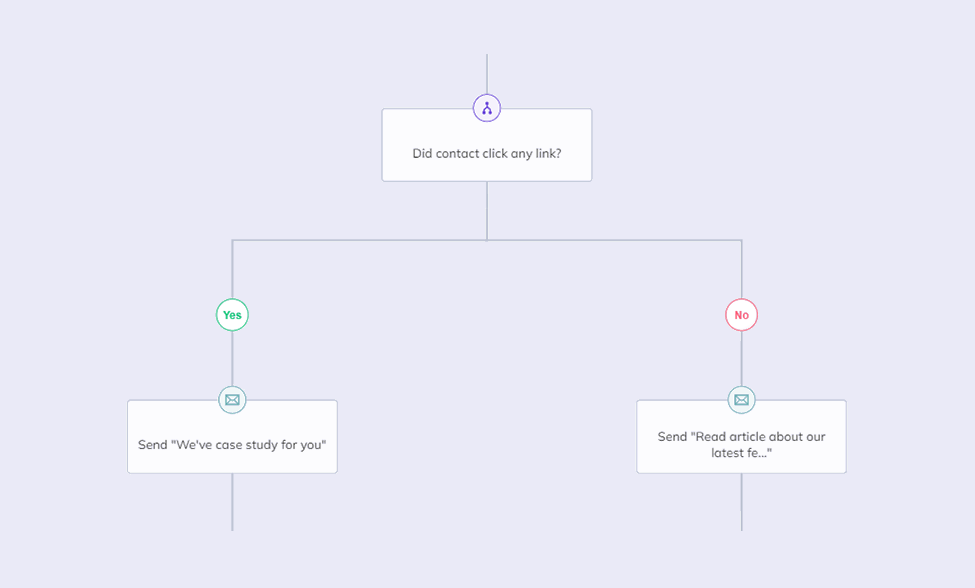
You can configure automation for dispatching emails to customers who have previously bought similar products. Additionally, you can map out the entire sales funnel and establish extra triggers to identify subsequent actions and emails. For instance, you can send additional information directly to customers who have previously indicated their interest by clicking on specific links.
In this case, email marketing automation workflow could not only increase interest and engagement but also support sales.
Did you know that there are many free, regularly updated templates for Elastic Email users? Take a look here:

It’s your birthday!
Have you ever received a birthday email? How did it make you feel? Delighted that your favorite brand remembered your special day? You can do the same for your customers!
With a birthday email, you can go beyond sending a personalized message and include an exclusive discount valid only during the birthday week. You can even incorporate a video with birthday wishes! This gesture would be highly appreciated by your customers and contribute to strengthening their connection with your brand.
Do you need more reviews? Ask for it
Social proof is one of the most important factors that influence clients to take action. Why not approach your satisfied and engaged customers to provide reviews of your product or services? That will build the trust of more potential customers who are seeking proven services.
Generate extra filters and segments to categorize clients as good or preferred customers. In our scenario, this could include clients with a high open rate and a low spam/abuse rate, indicating proper use of Elastic Email. Subsequently, you can invite these clients to review your services by linking to a specific review platform such as Trustpilot or G2.
Find out what review request emails work best.
Lead nurturing emails
Lead nurturing involves delivering a series of messages guided by the expressed interest in your brand. This strategy assists in guiding leads through the stages of a sales funnel, ultimately steering them toward making a purchase.
Many different elements might be involved, such as product features, promotional codes, special offers, and supplementary resources. Distinct automation paths may exist for users who completed the entire webinar and those who simply downloaded the ebook.
The most impactful lead nurturing automation is this with easy-to-understand and comprehensible value propositions. Clients should know what they will receive in the next step and understand its reasoning. Gradually, this approach will transform leads into paying customers, which is the dream of every business owner and marketer,
Download your files
It's a simple yet highly effective automation. If you provide lead magnets, you can use email automation to promptly send them to clients as soon as they join the specific list.
Integrate your contact form or campaign into a dedicated automation. When sign-ups are directed to a specific list, you can configure straightforward automation to instantly deliver the ebook/report/whitepaper to your clients. This way, you'll receive an advanced analytical report of the campaign detailing all customers engaged in the process. You can use those data in your lead nurturing flow!
What email marketing automation workflows are best suited for you?
It doesn’t matter what business you run, there are undoubtedly workflows that can prove beneficial. Implementation of some of those ideas could enhance your email marketing performance. But remember that establishing email marketing automation workflows is not an instantaneous process. Contact our customer support team if you need any guidance with setting your automation. However, once you've created a few automation, it should be a breeze for you, and you'll be able to automate most of your email marketing!
Find out more about our email marketing pro features, including automation.

Filip Blajet
Filip is a marketing specialist and content author, who spends a lot of time with data and ads. Outside of work, he loves football, binge watching tv series and travelling.