Creating your own shop website might sound like a challenge. The need for a graphic designer and a programming team may seem necessary. Server, plugin, and domain fees can also be intimidating when starting a business. But what if I told you there’s an easier way to start an online business and create your shop? You can start selling your digital products in one place using the Elastic Email Marketing product.
Combining different features of our product will give you many opportunities to showcase your brand in an effective way. In this article, we will walk you through, step by step, how to create a shop like this using our Email Marketing product.
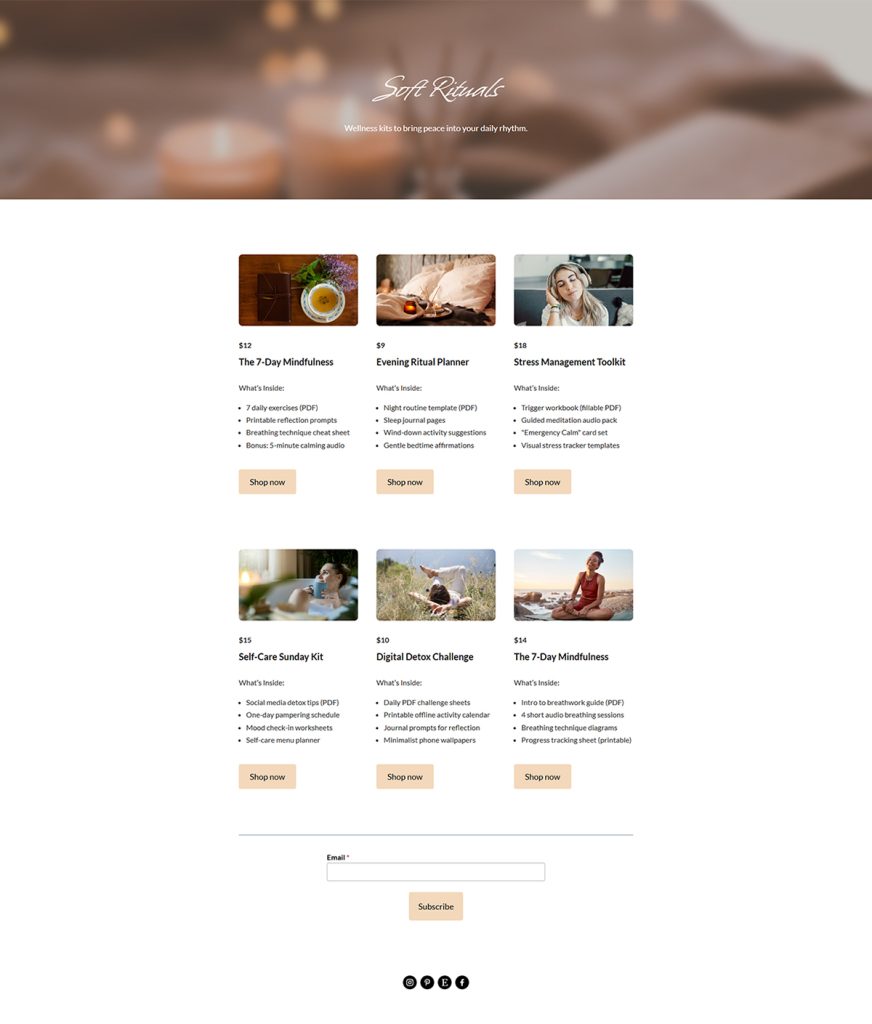
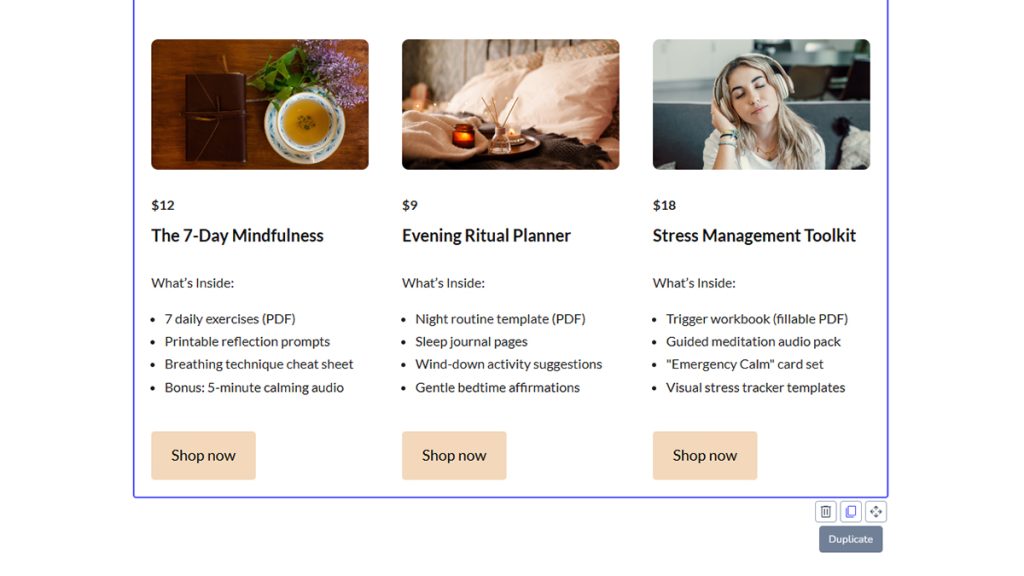
Looks good, doesn’t it?
Okay, we showed you an example that looks quite sophisticated, so it might seem like it takes a lot of time (days of work) to build a website like this. But that couldn’t be further from the truth. There are just a few simple steps you need to take to create a fully functional website with internal linking and the option to sell using a Stripe connection. Let’s take a look at how to do it.
Table of Contents
- TL;DR - Create Your Shop with Elastic Email
- Set your own subdomain
- Checkouts feature to sell digital products
- E-commerce website and how to create your shop
- For whom could this e-commerce site work?
- FAQ
TL;DR - Create Your Shop with Elastic Email
Elastic Email lets you build a simple online shop for digital products without a domain, developer, or dedicated ecommerce platform, by combining the Landing Page Creator with Checkouts. You get a free custom subdomain (e.g., yourname.myelasticemail.com/shop), create a separate Checkout page per product with its own payment and confirmation flow, then assemble a shop page in the Landing Page Creator that links out to each product. The whole process - from setting up a subdomain to publishing a multi-product shop - can take just a couple of hours if your product materials are ready. It's best suited for creators and solopreneurs selling a handful of digital products like ebooks, templates, or posters; for a fully custom, large-scale ecommerce site, Elastic Email itself recommends dedicated platforms like WooCommerce or Drupal instead.
Set your own subdomain
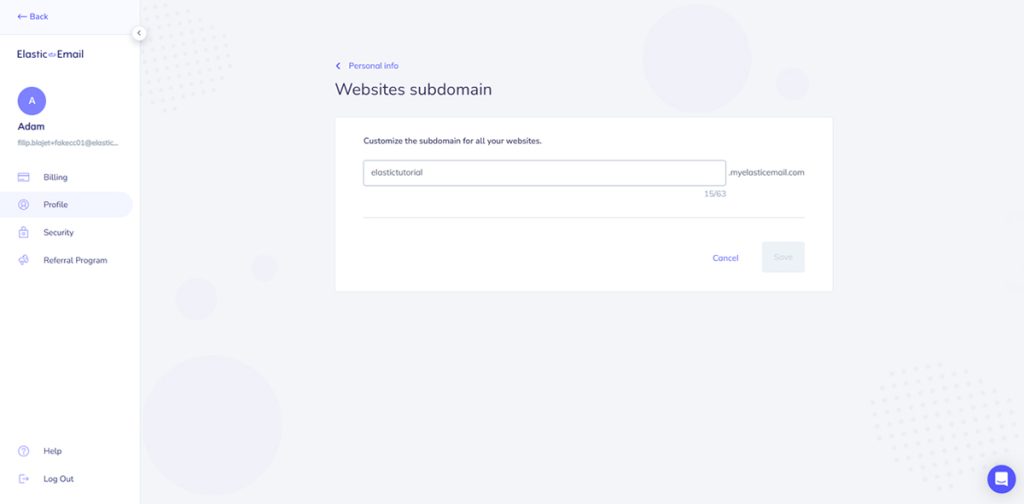
You don’t need to purchase or set up your own domain to start selling with our product. Forget about dealing with DNS, redirection, and all that technical stuff - we’ve got you covered. At Elastic Email, we let you use our domain, myelasticemail.com, with your own custom subdomain and suffix. You can create one subdomain per account, which will be linked to your profile, and as many landing pages or link-in-bio pages with unique suffixes as you like and need.
For example, you can set your subdomain to the name of your business - let’s say, gleam - and use different suffixes for your product pages and main shop page. It could look like this - https://gleam.myelasticemail.com/shop.
Where can you find this option? You can set your subdomain while creating your first landing page, or later in the profile section of the Email Marketing product.
Checkouts feature to sell digital products
Once your subdomain is live, you can fill your shop with products. Elastic Email’s “Checkouts” feature makes it easy to sell digital goods like ebooks, templates, posters, and more. For each product, you’ll need to design a compelling product page, a cohesive payment page, and a confirmation screen. You’ll also fine-tune how your product appears on social media and set up a personalized transactional email for your customers.
You will see and learn how to create the checkouts in this video, step by step.
For each product, you should create a separate checkout with a unique product page. You can maintain a consistent website design to align with your brand or adjust it to suit the specifics of each product. Each product page has a different suffix, which allows us to create an internal linking structure.
E-commerce website and how to create your shop
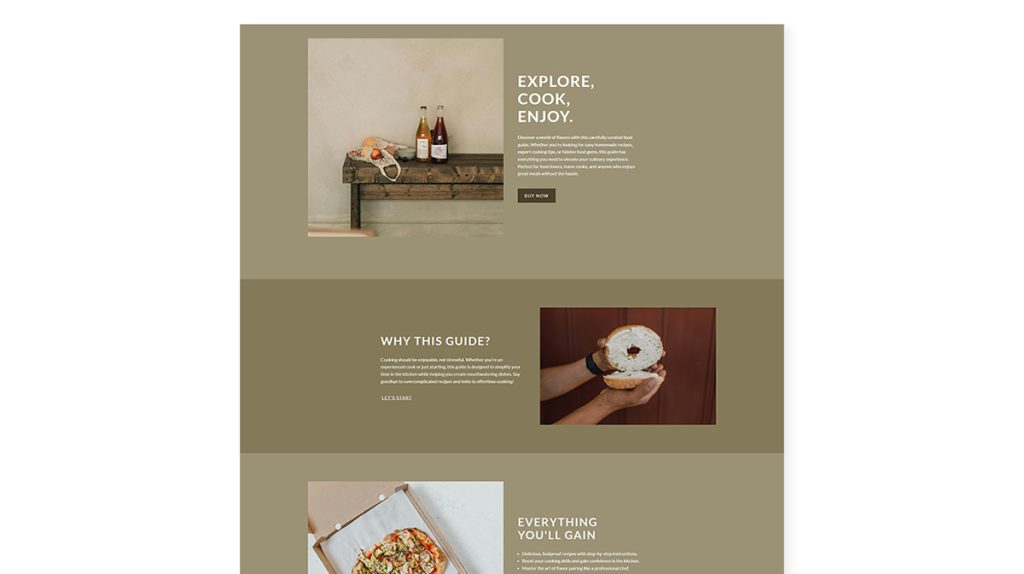
Okay, in my case, I’ve created 6 different products, so everything is now ready to create a fully functional shop with the Landing Page Creator. Let’s start by designing from scratch.
The entire flow of creating the landing pages can be checked here, in this video.
To truly start from scratch, simply delete all the blocks to have an empty canvas. To create the shop in this example, follow these steps:
- Add a row to serve as the header of your website. Toggle on the “Apply background on full width” option and upload your image. Set the border radius to 0 on all sides and adjust the padding to 120px at the top and bottom.
- Add two text blocks to this row - one for the title and the other for the subtitle. Use different font types and sizes to distinguish between them.
- Add another row with three columns, each set to 33% width.
- In each column, add the following blocks:
- Image block
- 3 text blocks
- List block
- Button block
- Image block
- Customize the style and text for each. Use the image block to showcase a product photo. In the text blocks, do the following:
- In one, include the product price.
- In another, include the product name.
- In the third, set the title of the list.
- In one, include the product price.
- Use a bulleted list or a numbered list to describe the product or its features.
- In the button, set the CTA and use the link from your created checkouts to set the internal linking.
- If you have six products, as shown in this example, simply duplicate the row by clicking here.
This way, you won’t have to add all the blocks manually again - you’ll just need to replace the images, links, and text. This is a great way to speed up the design process of similar elements.
- Once the columns with products are set up, it’s time to add the “Social” block and include links to all your social media accounts.
- Additionally, if you want to use this page not just for selling but also for gathering new newsletter contacts, you can add a “form” block and customize it. You can find a tutorial on how to do this on our YouTube channel."
All blocks are set, text adjusted, and links filled in - our simple, but eye-catching shop is ready, voila! If you have all the materials ready and know exactly how your final design should look, it could take you just a couple of hours to set up and publish all the Checkouts, Signup Forms, and the shop. It’s definitely faster than setting up an entire eCommerce site from scratch…
Enjoying this content?


For whom could this e-commerce site work?
Of course, this is just one approach, and it’s especially helpful for creators and entrepreneurs who are starting their businesses. Take Sophia, for example. She’s a skilled graphic designer who shares her projects online, has built a fanbase, and is now looking to monetize her work. She wants to sell printable posters and has created an ebook with design tips for beginners. But she doesn’t have the technical skills, time, or resources to set up an e-commerce site to make the most of her products. Elastic Email could be the perfect solution, letting her start selling quickly, whether in minutes or hours, depending on her needs and the complexity of the pages.
We won’t lie - if you want to create a custom, more advanced e-commerce site with a ton of options, you'll definitely need to use an engine like WooCommerce or Drupal (which we are integrated with, of course) and hire additional specialists to configure it. But if you need a simple shop to sell digital goods and start making money off your content, then Elastic Email, its features, and the Email Marketing product is definitely your answer.
FAQ
Do I need my own domain to create a shop with Elastic Email?
No. Elastic Email provides a free custom subdomain on myelasticemail.com (for example, yourname.myelasticemail.com/shop), so there's no need to purchase a domain or deal with DNS configuration.
How do I sell multiple products with Elastic Email?
Create a separate Checkout for each product, each with its own product page, payment page, confirmation screen, and unique URL suffix. Then build a shop page with the Landing Page Creator that links to each individual Checkout.
How long does it take to set up a shop with Elastic Email?
If your product materials (images, descriptions, pricing) are ready, setting up and publishing checkouts, signup forms, and the shop page can take just a couple of hours.
Who is Elastic Email's shop-building approach best suited for?
Creators and entrepreneurs starting a business who are selling a handful of digital products, such as ebooks, templates, or posters, and who don't have the technical skills, time, or budget to build a full ecommerce site from scratch.
Can I collect newsletter signups on the same shop page?
Yes. You can add a form block to the shop page to gather new newsletter contacts alongside your product sales.
What if I need a fully custom, large-scale ecommerce site?
Elastic Email recommends using a dedicated ecommerce engine like WooCommerce or Drupal (both of which it integrates with) if you need advanced customization and are willing to hire specialists to configure it.
How do I speed up building a shop page with several products?
Instead of rebuilding each product section from scratch, duplicate an existing row of blocks (image, price, name, feature list, button) and simply swap out the image, text, and checkout link for each new product.

Filip Blajet
Filip is a marketing specialist and content author, who spends a lot of time with data and ads. Outside of work, he loves football, binge watching tv series and travelling.