We have some exciting news for you - we just launched a brand new version of our Landing Page creator. In today's digital world, we know that a compelling landing page can really help attract and convert leads.
We aim to empower content creators, marketers, e-commerce entrepreneurs, and newsletter senders. That's why we provide you with an easy-to-use platform to create beautiful and effective landing pages.
Such landing pages are a straight path to skyrocketing your conversion rates! See how your conversions double and triple, while you save your precious time. Because creating professional landing pages with us takes minutes, not hours. With our brand-new landing page creator, we did everything to help you accomplish it. Make a memorable first impression, promote your products and content, generate leads, and see your business grow.
Building on our previous landing page creator's success, we aimed to improve customization options. We also wanted to create a smoother user experience. This makes it easier than ever to build pages that attract and convert visitors.
Table of Contents
- Brand new landing page creator
- Form block
- Adding reCAPTCHA
- Subscribers settings
- Form and notification settings
- Additional changes in blocks
- Make it live
- New Landing Page creator - conclusion
Brand new landing page creator
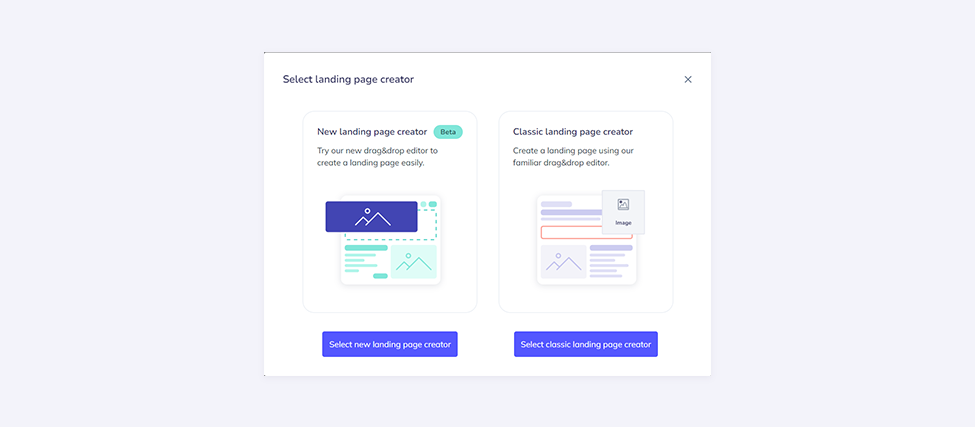
The latest version of our landing page creator is ready for you. Just log into your account. Then, click on Audience in the left menu and select Landing Pages. Click on the Create landing page button and decide whether you want to create your landing page in the classic editor or try the brand-new one.
Don't worry! If you like using the classic editor, it will still be available alongside the new one in our app. But we highly recommend that you try the latest version of our landing page creator. We have made many improvements and added new features.
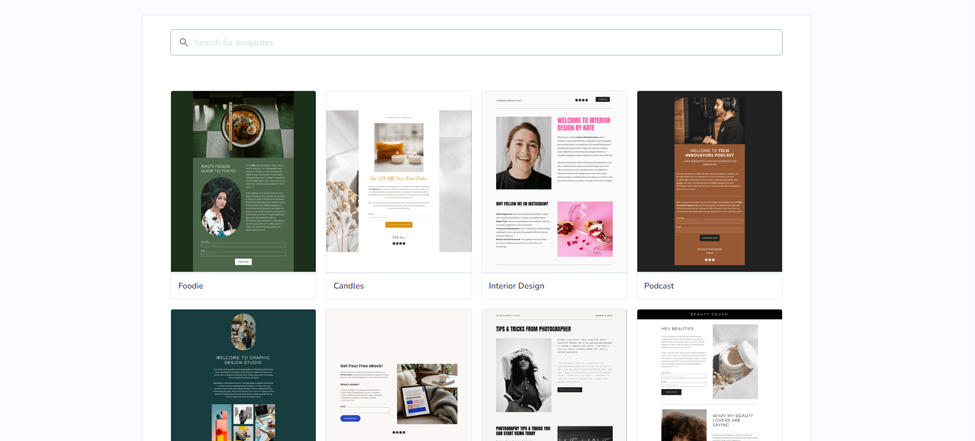
First, you give your new landing page a name, you can move on to start creating it. You then choose whether to pick a template from the gallery or create one from scratch.
If you would like to create a new template on your own, you move on to our drag-and-drop editor.
In the new editor, you build the entire landing page from scratch within the designer. If you want to add a form, you create it by dragging and dropping a proper block. In the previous editor, when you add a form, you pull in a premade form created earlier in the "Forms" section.
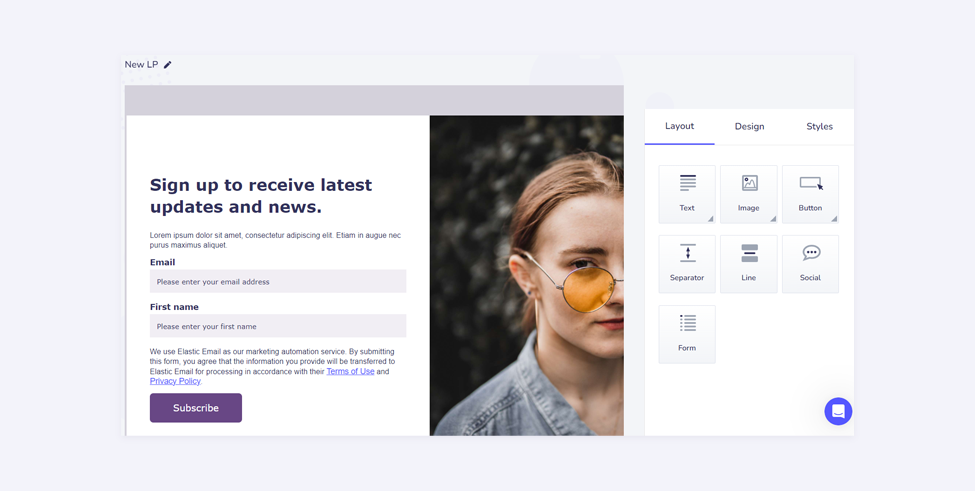
The new landing pages are created using a drag-and-drop editor, similar to the one used for creating email templates and web forms. You have three main categories in our designer - Content, Rows, and Styles. In Content, you can add images, paragraphs, forms, buttons, and more.
Form block
Unlike the web forms creator, the landing page designer allows you to create a landing page without any forms, but it also lets you add multiple forms if needed. When you change the Form block, you can add input fields. You can also customize how they look. Finally, you can choose the audience for your contacts.
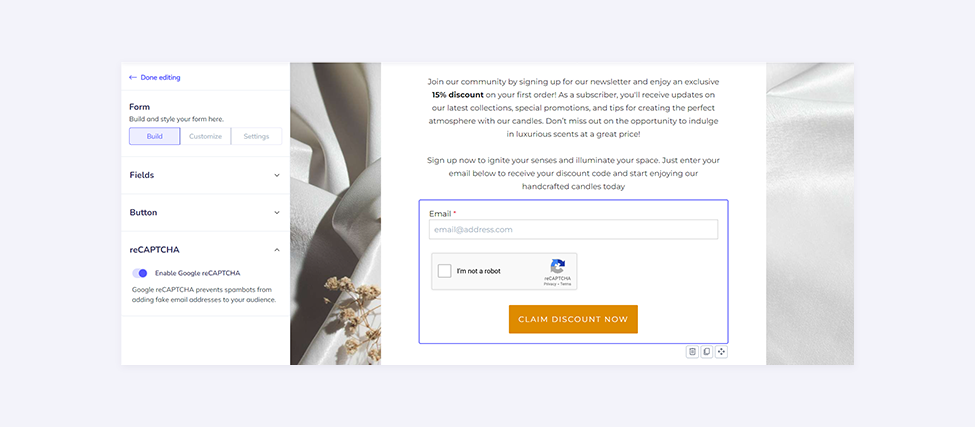
In the Build section, you add Fields, Buttons, and reCAPTCHA. We will discuss the last one in the next section, but let’s focus on adding fields.
The Email field is always present and is set as mandatory by default. You have the option to include additional fields such as First Name and Surname.
If you have the Pro plan, you can add custom fields. These fields can include Birthday, Country, or Company. You can choose the information you want to collect from your potential clients.
Adding reCAPTCHA
When collecting new leads, you want to avoid bots from spamming your sign-up forms. That’s why you need to add reCAPTCHA to your landing page.In our new landing page builder, you can now activate Google reCAPTCHA v2 to protect your website from fraud and abuse. This includes the "I'm not a robot" checkbox in your forms. This feature is available in the Pro plan.
Subscribers settings
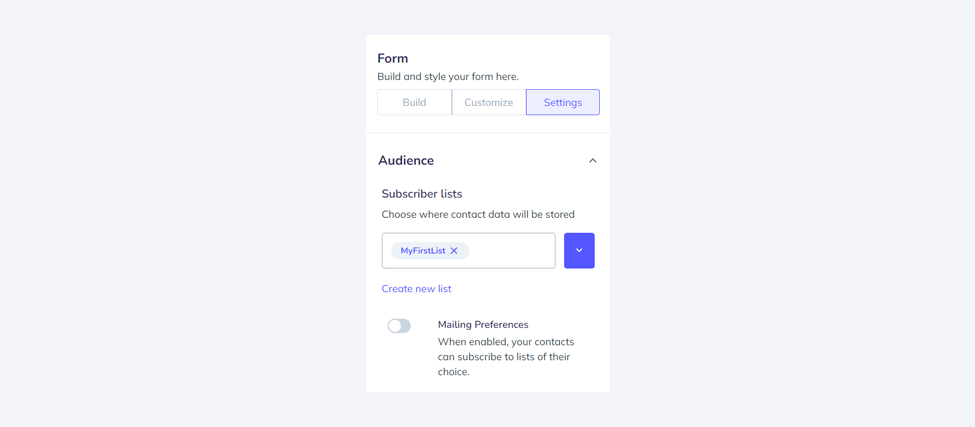
When your form block is created and styled, you need to choose your audience. It means, you need to select what list your freshly collected contacts should land on. When you enable the Mailing preferences option, you even give your subscribers a chance to choose which list they want to be added to. By doing so, you will make the available lists visible, and your leads can check which of them they want to subscribe to.
Keep in mind you have the ability to only include contacts in your lists, not in segments. However, all contacts will be automatically incorporated into the "all contacts" segment. Concurrently, if you decide to gather data about, for instance, a Country, and you already possess a segment dedicated to a specific country, contacts that fulfill this requirement will be included in that segment.
Form and notification settings
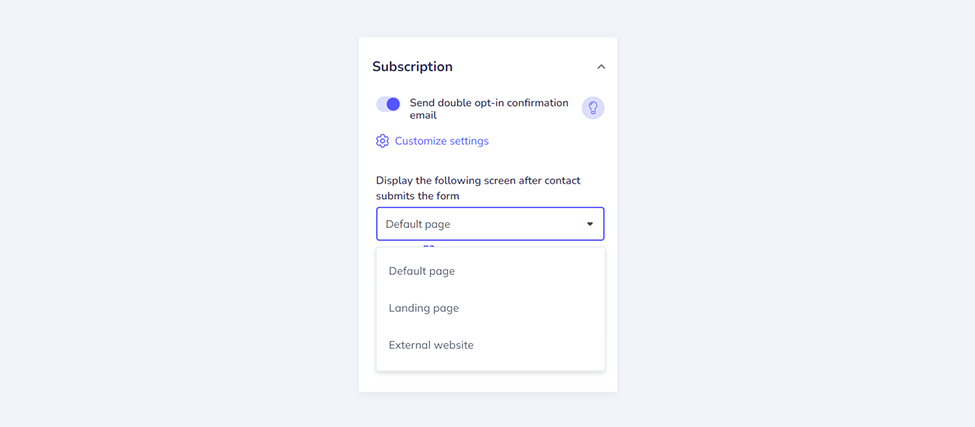
The next step is to set up Subscription and Notifications. As for Subscription, you choose if you want to send double opt-in confirmation emails, but also what screen should be displayed after the contact submits the forms and if the contact has previously subscribed. It can be a default page, a landing page, or an external website. Choosing the 'default' option means that the pages and template provided by our system will be used.
In the Notifications section, you can turn on the option to get notified whenever a contact signs up. You just need to add the email address where you'd like to receive these notifications.

Additional changes in blocks
We also made some additional adjustments in the blocks for more flexibility and customization of the design so that you can design a landing page that best suits your needs.
Rows
You can now adjust the proportions of individual columns. Either by dragging the cursor to the sides in the columns bar in the menu or by setting the exact percentage below the bar. You can also set the space between columns and whether they should stack on mobile devices.
In Rows, you can now set the background color and image for a particular row, as well as its border and border-radius.
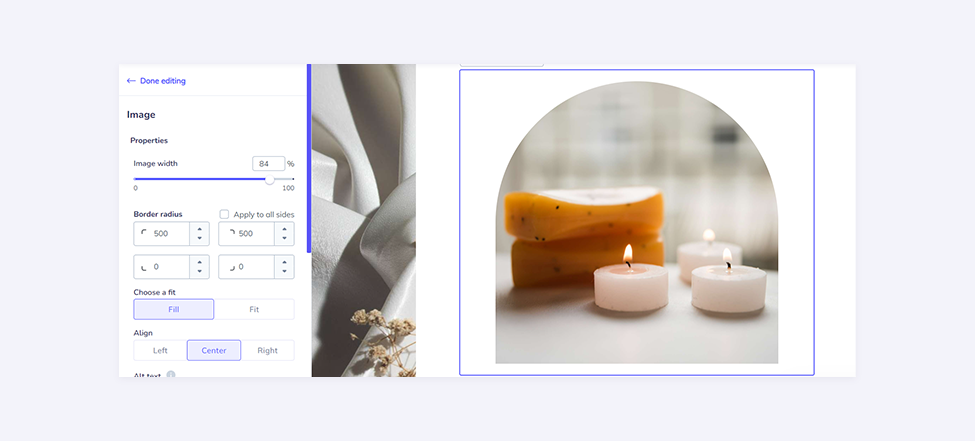
Image
When adding an image, you can now use the Fill/Fit option. It allows you to fill the entire column space with an image without needing to crop it to fit the provided content.
You can also adjust the border radius of your image to create different shapes and add an image as background.
Make it live
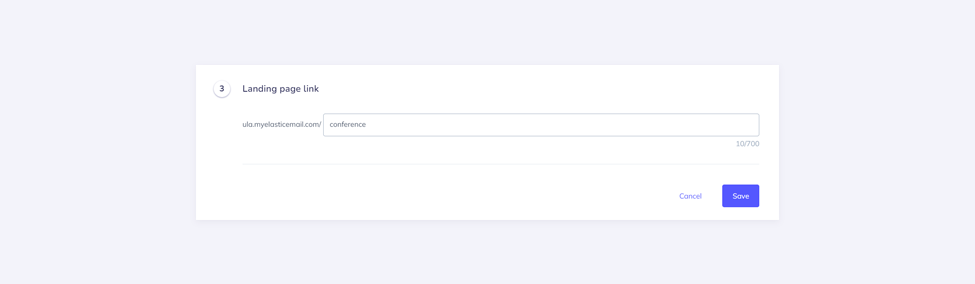
Now that your landing page is ready, it’s time to publish it. First, you need your landing page link, which we let you customize.
Landing page link
The landing page will be created within the myelasticemail.com domain, but you can add your subdomain and suffix, for example, ula.myelasticemail.com/conference. While you have to add your subdomain, you can leave the suffix blank, e.g., ula.myelasticemail.com.
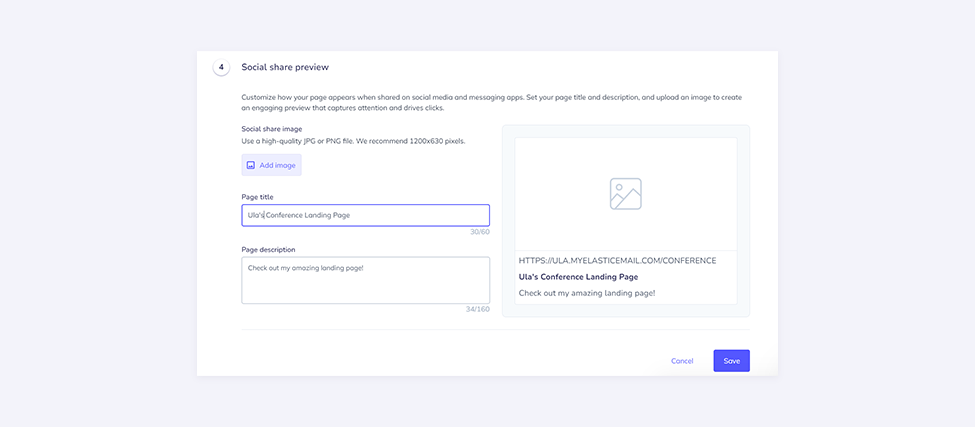
Social media share
You can customize how your landing page appears when shared on social media - you can add the thumbnail image, landing page name and description.
Publish
In the last step, you can preview your landing page, copy the link, and start promoting it on your website, your social media, or in your newsletter.
New Landing Page creator - conclusion
As we unveil this next-generation landing page creator, we're not just launching a tool – we're providing a canvas for your creativity and a springboard for your success. Whether you're a seasoned marketer or just starting your online journey, our revamped platform offers the perfect blend of simplicity and sophistication.
By putting more control in your hands and streamlining the design process, we're confident that you'll be able to create landing pages that not only look great but also deliver results.
We invite you to explore the new features, unleash your creativity, and take your online presence to new heights. Your perfect landing page is just a few clicks away – let's start building the future of your digital success together.

Ula Chwesiuk
Ula is a content creator at Elastic Email. She is passionate about marketing, creative writing and language learning. Outside of work, Ula likes to travel, try new recipes and go to concerts.