Moving from Mailchimp to Elastic Email? Welcome onboard! We look forward to assisting you with migrating from one email service provider to another. Let us walk you through all the essential steps to make your transition as smooth and seamless as possible. In this article, you will learn about our API libraries and documentation, how to get started and how to send your first email via Elastic Email API.
Table of Contents
API Libraries
When starting with using our API, we recommend you check out our API libraries. To ensure you the easiest integration possible, we have prepared and constantly maintain them for 12 programming languages and frameworks. You can choose one below, and you will find a downloadable API library with authentication instructions, code samples, guides, and other useful resources. Here are our libraries:
If you cannot find the library you’re looking for, let us know at contact@elasticemail.com.
How to get started
Let’s take a look at the essential steps to set up your Elastic Email account, integrate with our email API, and start sending emails.
When making the first steps in your journey with Elastic Email, you can also use our API documentation to integrate with our email API and use it according to your sending needs. Looking at API documentation is the best way to see the difference between email service providers. To simplify matters, we prepared a comparison of the most essential API references for both Elastic Email and Mailchimp:
API Name |
||
Introduction |
Introduction | Getting started |
Authentication |
Authentication | Authentication |
Sending Emails |
Emails | Messages |
Managing Suppressions |
Suppressions | Rejection Blocklist |
Managing Templates |
Templates | Templates |
Inbound Email Processing |
Inbound Route | Inbound |
Statistics |
Statistics | Activity and reports |
Signing up
The first step is to sign up for an Elastic Email account. To do it, you need to choose the Email API product and create your account for free. To try out our platform, you don’t need to provide any credit card details. After registration, you will receive a confirmation email to verify your profile.
Setting up a sending domain
After creating your Elastic Email account, you need to add and verify your sending domain. To do it, you will need to log into your domain provider and adjust the DNS settings of your domain. For more information, check out our help article on how to verify your domain or watch our YouTube guide below:\
Creating your API Key
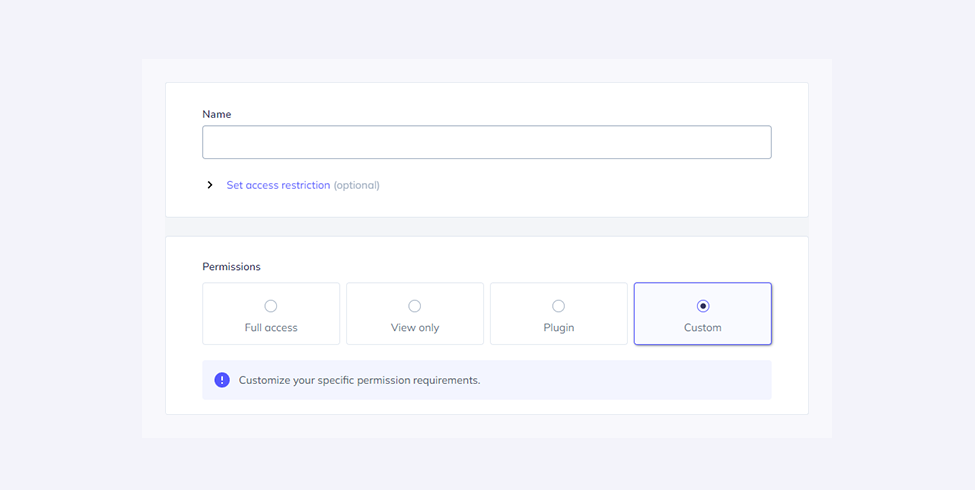
To start using our email API, you will need to authenticate yourself with an API key. To generate it, enter settings on your Elastic Email account and go to Settings->Manage API Keys->Create.
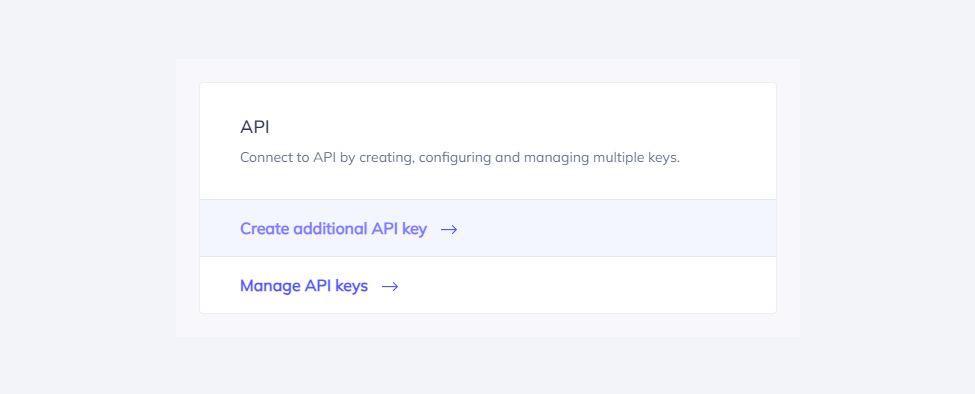
At this point, you can set custom permissions and optional access for your API key.
After creating your API key, please keep it safe as you will need your API key for every call you make in order to identify yourself and confirm your account’s credentials.
Your API key should be sent inside the header with the parameter name ‘x-elasticemail-apikey’ and your API key as a value.
Installing API library
To make your migration process easier and quicker, we recommend downloading and installing a repository of the programming language you use. Both Mailchimp and Elastic Email have a large collection of email API libraries and SDKs of many programming languages. Just like you integrated with Mailchimp’s email API by installing a library or SDK, you need to do the same with Elastic Email. All our downloadable repositories are available on GitHub.
Let’s show you the installation process using JavaScript. For example, when you want to install the repository for Node.js.
Npm
To publish the library via npm, please follow the procedure in "Publishing npm packages".
Then install it via:
npm install @elasticemail/elasticemail-client --saveSending your first email
const mailchimp = require("mailchimp_transactional")(
  "YOUR_API_KEY"
);

const message = {
  from_email: "hello@example.com",
  subject: "Hello world",
  text: "Welcome to Mailchimp Transactional!",
  to: [
    {
      email: "freddie@example.com",
      type: "to"
    }
  ]
};

async function run() {
  const response = await mailchimp.messages.send({
    message
  });
  console.log(response);
}
run();If you want to send your first email via Elastic Email, you need to load the library, get client instance, use your newly generated Elastic Email API key, and create an instance of EmailsApi that will be used to send the email.
Based on the JavaScript example, here’s the whole code for sending an email to copy and paste:
const ElasticEmail = require('@elasticemail/elasticemail-client');

const client = ElasticEmail.ApiClient.instance;

const apikey = client.authentications['apikey'];
apikey.apiKey = "YOUR_API_KEY";

const emailsApi = new ElasticEmail.EmailsApi();
const emailData = {
    Recipients: [
        {
            Email: "johnsmith@domain.com",
            Fields: {
                name: "John"
            }
        }
    ],
    Content: {
        Body: [
            {
                ContentType: "HTML",
                Charset: "utf-8",
                Content: "<strong>Hi {name}!<strong>"
            },
            {
                ContentType: "PlainText",
                Charset: "utf-8",
                Content: "Hi {name}!"
            }
        ],
        From: "myemail@domain.com",
        Subject: "Example email"
    }
};

const callback = (error, data, response) => {
    if (error) {
        console.error(error);
    } else {
        console.log('API called successfully.');
        console.log('Email sent.');
    }
};
emailsApi.emailsPost(emailData, callback);Email API migration guide: wrapping up
We hope you managed to find all the information you need to move from Mailchimp to Elastic Email and to integrate with our API smoothly and effortlessly. If you have any questions or need additional assistance, our customer support experts will be happy to help you from day one. They are available to you 24/7 via email at support@elasticemail.com or via live chat, which you can find in the bottom right corner of our website and platform.
Haven’t you signed up for an Elastic Email account? Try it out and start sending emails with us today!

Ula Chwesiuk
Ula is a content creator at Elastic Email. She is passionate about marketing, creative writing and language learning. Outside of work, Ula likes to travel, try new recipes and go to concerts.