When you access our Elastic Email dashboard there are a plethora of options you can experiment with. One of them is a mysteriously titled “Channels” tab. The name sounds interesting, but what is it? How can you use it and is that even a little bit related to television?
What are channels?
Okay, so the sad news is that it’s not similar to the traditional programs you switch on your TV. It is, though, a very useful tool to organize your emails differently than by campaigns.
Channels allow you to categorize all the emails you’ve sent by individual categories established by you. Furthermore, you can find out right away how many opens, clicks, or bounces each of them had. So if sorting your emails through campaigns is not clear for you, or if you want to have an ability to sort them out yourself, channels are something you should look into.
How do they work?
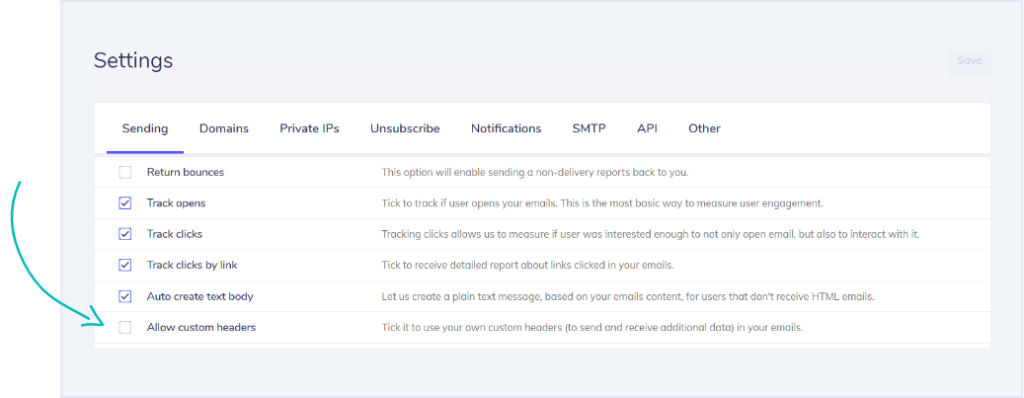
Setting up channels is a bit more complicated, so be prepared for some work. There are two ways to enable it - via SMTP integration or API parameter. Both require you to first enable the “allow custom headers” option from the Elastic Email Settings screen:

With SMTP, you need to set up a custom header when composing your email. It should look like either one of these formats:
- Channel: YourChannelNameHere
- X-ElasticEmail-Channel: YourChannelNameHere
This will either send your emails through "YourChannelNameHere" or first create it and then send through it if the channel with this name doesn't already exist.
In order to pass information about channel names in an API call, a particular parameter has to be specified. It can be found as one of the parameters listed for our basic email/send API Call. Similarly to SMTP, this will create a new channel or add an email to the already existing one.


